Renozilla Journey: The Planning Starts
- Jun 23, 2014
What comes after the rectifications have been completed? Well, the renovations of course! As I mentioned in one of my earlier Renozilla posts on choosing an ID, I had approached several IDs and I picked Rachel Chew from 3D Innovations because her quotation was the closest match to our requirements. If you remember, our list of to-dos was actually a very simple one. I fully plan on dressing the home with various soft touches such as cushions, art prints etc so we don't really require a lot of carpentry work. Naturally this means that we have to buy various furniture pieces to store our wide collection of books and games, but this can be done on a more leisurely pace. =)
3D Conceptualisation
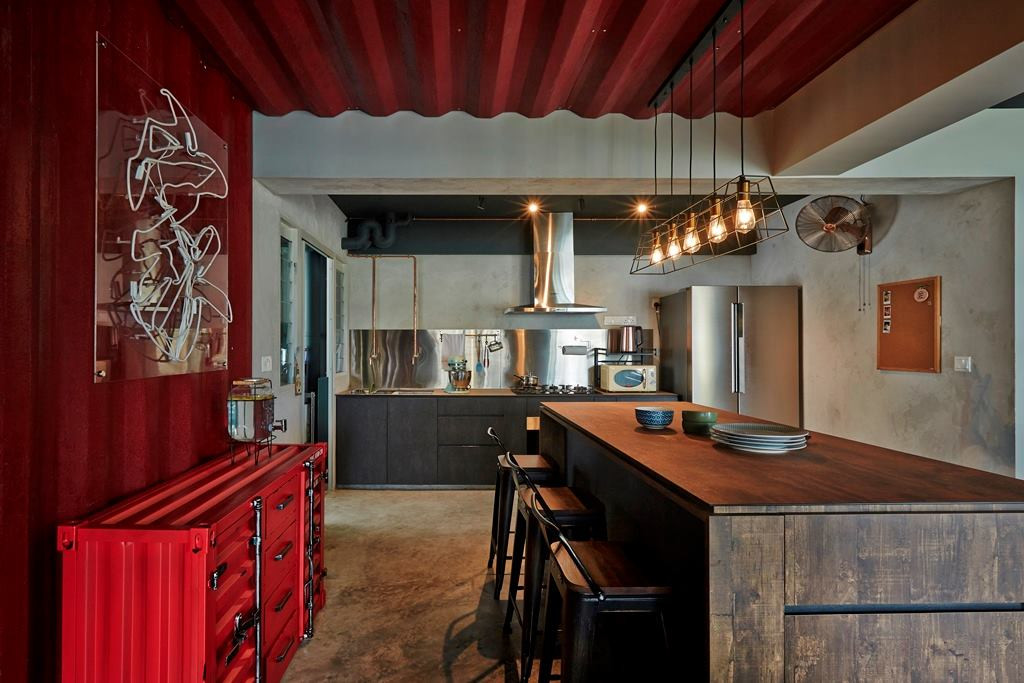
I guess you must be eager to see our 3Ds! There are only two because we are only doing the kitchen and a wardrobe for the master bedroom. To be honest, I gave a lot of thought to the kitchen design because I didn't want it to look too flashy nor do I want it to be too dull. The colours are especially important here because an inappropriate choice of colours can affect your mood when eating or preparing meals in the kitchen. For instance, it's not wise to use the colour blue because it's meant to be a relaxing colour. You would want the kitchen to stimulate your appetite, and not to suppress it. This is why hospitals primarily use blue or green to create a relaxing environment. I, for one, want a clean look that is infused with the warmth of wood so Rachel did up a few drafts:


Choosing Colours
This pretty much settled the 3D conceptualisation stage, so we went on to choose the paint colours for the entire house. The home would be a reflection of our combined personalities so I didn't want anything that would be too overwhelming. There was also the concern that too strong a colour choice will make the already small flat look cramped. After much consideration, we finally decided on the following colours from Nippon Paint OdourLess Paint Collection:- Living room: Chill (very light green), I love its refreshing and tranquil vibe. It's supposed to be good for the eyes too!
- Computer room: Smoky (very light grey), The SO wants a less than brightly coloured room to conduct his late-night gaming activities.
- Study: Angel Pink (very light pink), This is to be MY room of sorts, and pink is one of my favourite colours. =D
- Master bedroom: Swansdown (off white), We already have a dark coloured wardrobe so an off-white colour will blend in nicely without appearing too stark in comparison.
Deciding on the lighting points
Next, came the placement of the lighting points and electrical sockets. Since we had no plans for false ceilings, it was easier to decide where we wanted the lights. For homeowners who are looking into a more complicated ceiling design, it's best to plan the lighting points beforehand. Ensure there is plenty of illumination, but don't sacrifice the ambience either. On our part, we planned for ceiling fans with light kits in both our living and computer rooms. It was a logical decision because both illumination and cooling would be well-taken care of in areas where we would hang out most often. The living room would need more lights of course, so we added a dining table light and a normal 'burger' light near the front door. Since the living room was to be a place where people can relax, I chose warm lights but planned it such that the ceiling fan would have a few light bulbs that would emit cool light as well. As you probably know, cool lights are primarily used in areas where focus is needed so it's good to have that option open. By mixing both warm and cool lights together, we can now create an optimal effect between warm cosiness and cool focus (I learnt this nifty tip from Louis Chia of Archétype!). The same effect was created in the computer room, although there are to be more cool light bulbs than warm ones to help us focus better on the games. In the master bedroom, we added two more bedside lighting points so we don't have to feel our way in the dark in case we get up for a night-time leak. The circulation path would be decorated by two ceiling lamps while normal 'burger' lights would be installed in the kitchen, service yard, bomb shelter, and the two bathrooms.
Electrical points
Last but not least, we had to decide if we wanted to add more electrical points. We were content with the existing ones, but we added a few more along the circulation path and the master bedroom just in case. This would incur additional costs of course so do plan carefully. And that brings us to the end of the renovation planning process! You might think that not much thought is needed for a simple renovation, but you really have to take a lot of things into consideration. Well, I hope you enjoy reading my posts so far. Stay tuned for my next post! =) Next Up: Kitchen & Living Room Previously: Opening CeremonyMeet Interior Designers. Get Quotes.
Get in touch with our listed renovation companies. They will provide you with a free non-obligatory estimate for any of the Renovation Packages included in their services.
Related Posts

These 10 Cosy Alcoves are Perfect for Nesting at Home
No longer just the purview of fowls, ‘nesting’ now refers to relaxing in our homes. It's about settling and feeling comfortable and secure. But where to nest? H...

12 Super Liveable Layout Ideas for the Feb 2024 BTOs
A total of seven BTOs were launched in Feb 2024, including one in a prime location—Tanglin Halt Courtyard in Tanglin. There were also projects in Bedok (Bedok N...

Crafting Colour Harmony, A Complete Guide to Choosing the Perfect Palette for Your Home
Design: Metre Architects Embarking on the journey of transforming your living space with a fresh coat of paint can be both exciting and daunting. The colour pa...

10 Small but Super Aesthetic Bathrooms in Singapore Homes
When you’re not restricted by size… Bathrooms in Singapore apartments are not typically spacious. And with a whole lotta restrictions in place (whether by HDB...

These are the 2024 Interior Design Trends to Follow in Singapore
It’s that time of the year again for trend predictions! And no one is as excited in the office as I am (as the official trend person). Our track record of accur...